What to Expect During a Roof Replacement: Step-by-Step Guide
If you’ve never had your roof replaced before, the whole thing can seem a little overwhelming. But when you know what to expect—and when your roofer communicates well—the process becomes much smoother. Here’s a breakdown that follows the same flow we walk customers through in our videos.
1. Contacting Your Roofer & Setting Up a Meeting
Everything starts with a phone call. You’ll talk through the basics, ask questions, and schedule an on-site meeting.
Meeting your roofer in person is important—you always want to make sure you’re actually getting what you’re paying for and working with someone who will communicate clearly.
2. Full Roof Inspection & Detailed Estimate
Once on site, the roofer will perform a full inspection of your current roof. After that, you should receive a detailed, line-item estimate outlining:
-
Materials
-
Labor
-
Any recommended upgrades
-
Timelines
This transparency helps you understand exactly what you’re agreeing to.
3. Material Selection
Next comes the fun part—choosing your new roof.
You might go with:
-
A standard asphalt shingle
-
An impact-resistant shingle
-
A metal option
-
Or other premium materials
Your choice depends on your budget, style, and long-term goals for your home.
4. Roof Tear-Off
This is the messy stage.
The crew removes all the old shingles and loads the debris into a trailer or dumpster. This exposes the roof decking so the team can see what’s going on underneath.
5. Decking Inspection & Repairs
Once the decking is exposed, any damaged or rotten wood is replaced.
You won’t always know what needs repair until the tear-off is complete—but fixing the foundation ensures your new roof lasts.
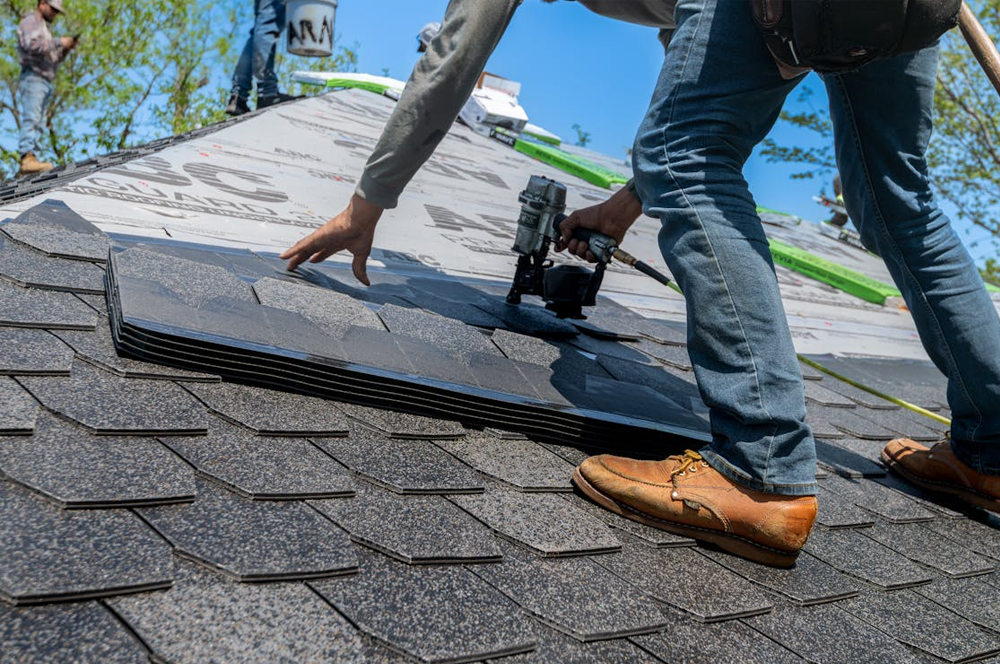
6. Underlayment & Shingle Installation
Next, the crew installs:
-
Synthetic underlayment
-
Ice & water shield in valleys and around penetrations
-
Flashings as needed
Then comes the final visible layer—your new shingles. This is the part everyone notices, but the layers underneath are what protect your home.
7. Clean-Up, Quality Control, & Final Inspection
A good roofing company will take clean-up seriously. Nails, shingles, and debris should be removed so your property looks like they were never there.
Afterward, you should expect:
-
A thorough inspection from the field supervisor
-
A second set of eyes from a quality control inspector who’s independent from the production and sales teams
This ensures nothing is overlooked.
8. Warranty Review & Follow-Up
Finally, your roofer should walk you through:
-
Your product warranty
-
Your workmanship warranty
-
Any recommended maintenance
-
Who to contact with future questions
A reputable company won’t disappear after installation—they’ll be available for support down the road.
Replacing your roof doesn’t have to be stressful. With solid communication and a company that takes your home seriously, the entire process becomes predictable, smooth, and worry-free.
And remember—our commercials may be silly, but we’re serious about your roof.